
Why Do Perfume Bottle Labels Lift at the Edges After Application?
A label can look smooth as it leaves the packing line and show a raised corner the next morning. Look at where the lift starts before changing the adhesive. One corner on a curved shoulder calls for a different trial from a whole edge lifting across a flat glass panel.
Does the label reach onto the bottle shoulder?
Hold the bottle at eye level and turn it until a reflection runs along the front face. Follow that reflection up to the shoulder, where the glass curves towards the neck. A rectangular label that fits the bottle width can still be too tall for this panel. Its upper corners may have to bend in two directions. A stiff paper or a thick laminate can pull back towards its original shape where the edge has made little contact.
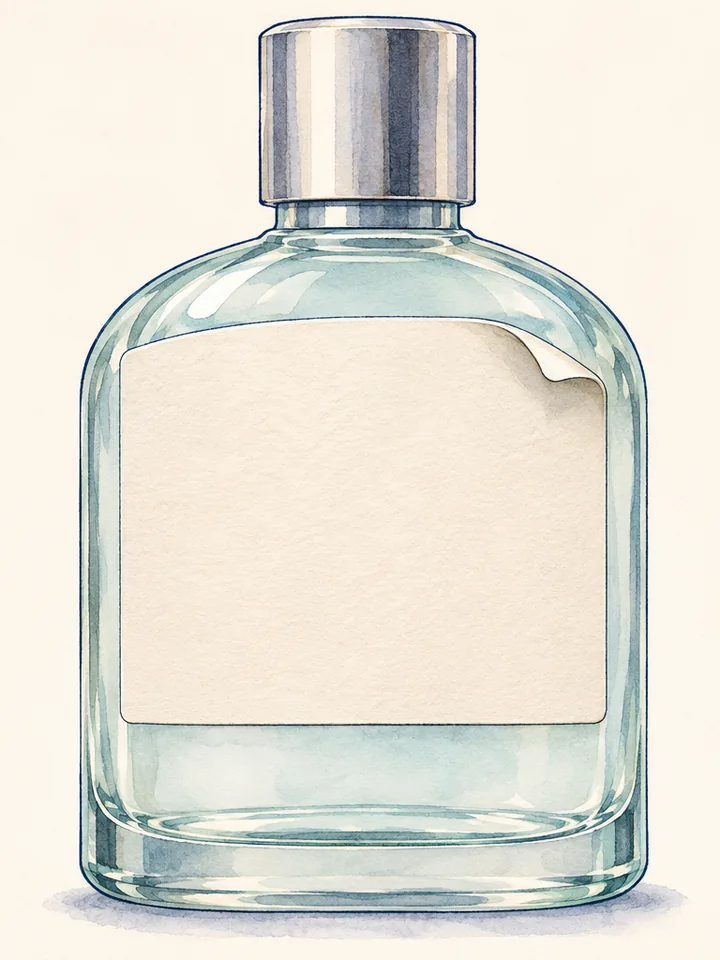
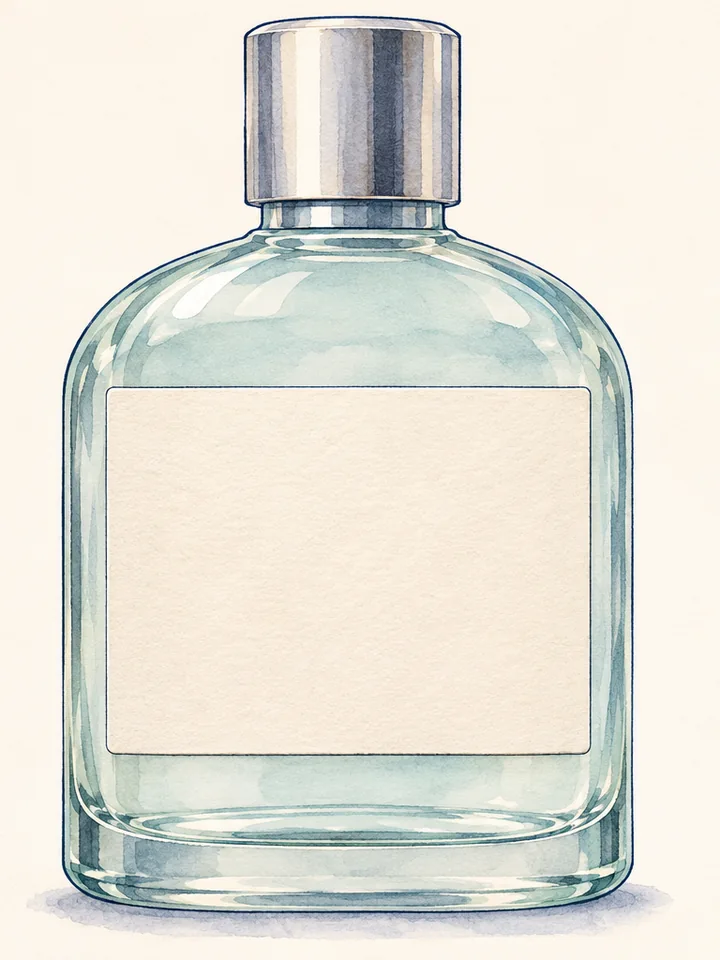
What does the lifting pattern tell you?
The same corner lifts on several bottles
Compare its position with the shoulder, a mould seam or a raised detail. Try the same label slightly lower on another bottle. If the edge then stays down, check the usable panel height and the placement tolerance on your line before changing the material.
A long edge lifts on a flat area
Check whether the roller or hand applicator presses that edge as firmly as the centre. Look for condensation, filling residue or handling marks before labelling. Record whether the glass is bare, frosted or coated: an adhesive that works on bare glass may behave differently on the actual finish.
The edge stays down until filling or packing
Note the first stage where the gap appears. Check whether fragrance reaches the label edge, the bottle surface is cold at application, or a divider rubs the corner as the bottle enters its carton. Keep one labelled bottle aside for comparison through the same observation period.
Run a comparison on your production bottles
- Keep a reference bottle. Use bottles from the same batch. Label one at the current position with the current stock, using your normal preparation and application method.
- Change one thing on the next bottle. For a shoulder issue, start with placement. If placement is fixed by the design, try a shorter label. If the edge lifts on the flat face too, agree a separate trial of a more flexible face material or another adhesive.
- Photograph both at the same times. Take a front view to show placement and a close side view with light across the edge to reveal the gap. Record the bottle finish, position, application method and elapsed time. If lifting usually appears the next morning, include that check.
- Repeat the choice on the line. Test with the normal filling, handling and packing sequence. Agree with your supplier what edge lift and appearance your pack can accept before approving the roll specification.
What to send for a sample review
Send the two photos, the label dimensions and the quantity you need. Tell us when the edge first lifted and whether the bottle was filled before or after labelling. A spare production bottle and a piece of the current label stock help us set up a comparable trial.
See our cosmetic and personal care bottle labels for material and roll options, or request a sample review.